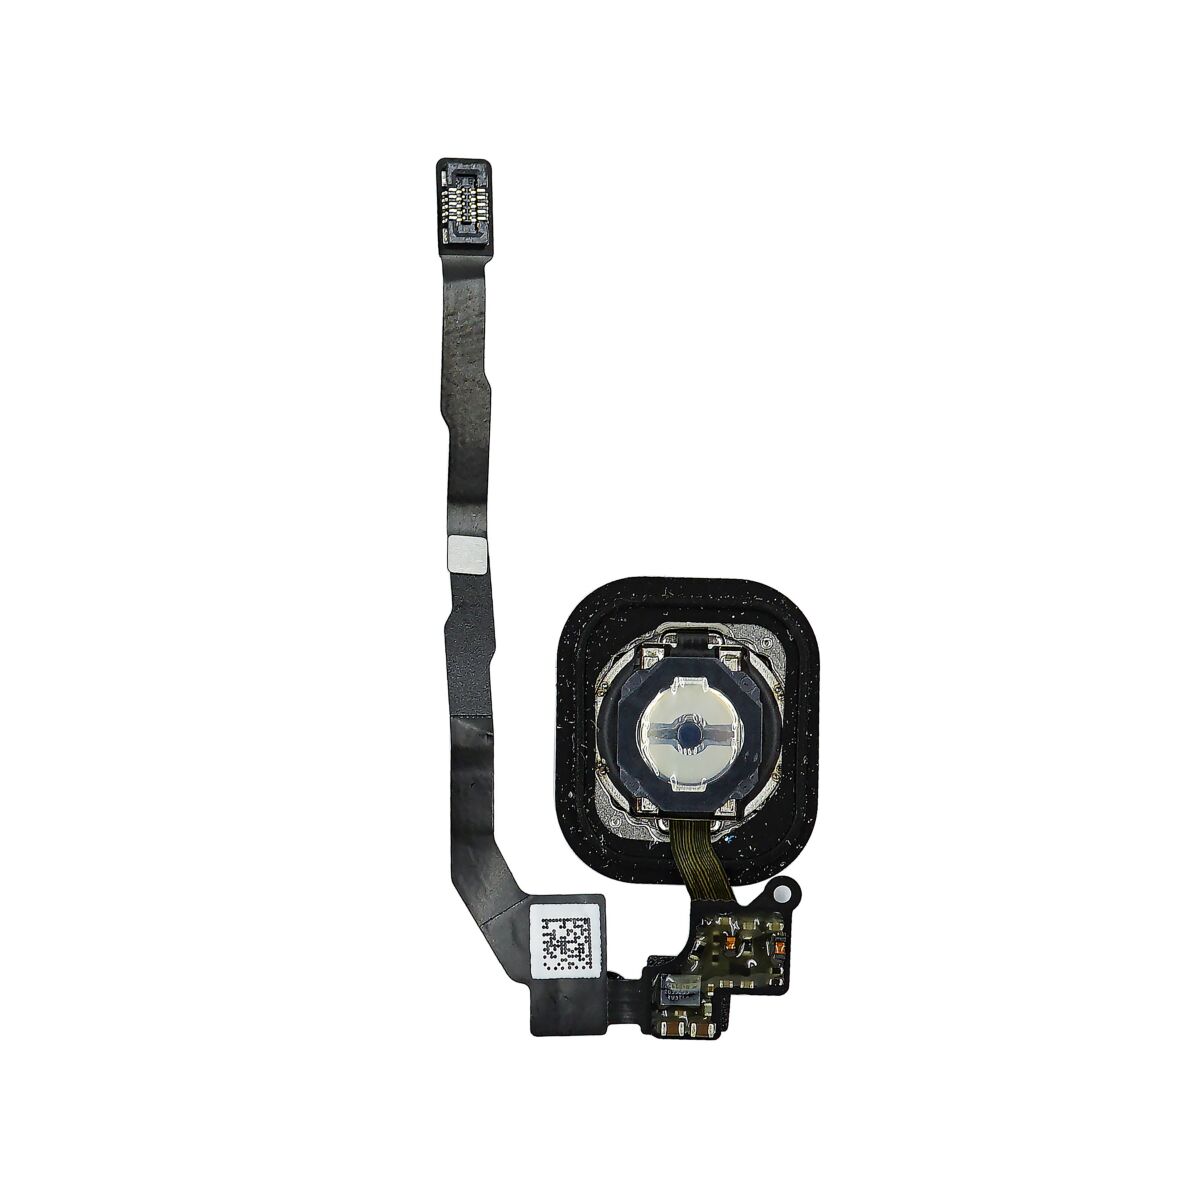
Unscrew the single captive Phillips #000 screw securing the home button cable. The captive screw is fastened to the home button cable by a spring contact backing. During reassembly, ensure the contact is in the correct orientation—on the side of the screw nearest the LCD. If your replacement part does not have this captive screw and spring contact, you will need to transfer them to the new cable.


Wedge the the tip of a spudger underneath the home button cable assembly. The home button cable is affixed by mild adhesive. Gently work the spudger underneath the cable to separate the home button cable from the front panel assembly. Do not remove the home button yet, as it is still attached to the front panel assembly.


If necessary, remove the tape over the home button on the front side of your cracked front panel assembly. Gently push the top left corner of the home button up away from the front panel. Do not push the home button all the way through—you only need to get a corner free, so that you can pry it free with a spudger. This membrane is very thin. If you feel like you're going to tear the button, apply heat and try again.


You may have to transfer the home button gasket to your replacement home button assembly. Using a set of tweezers, gently peel the gasket off of the home button. The gasket is very thin; if you feel it begin to tear, stop peeling and apply heat before proceeding.


|


 Add To Shopping Cart
